ASPIRE CTF 2021 — Linux Skills & Networking
Table of Contents
ASPIRE CTF was a good refresher for basic CTF skills. I hopped onto it played and solo to get the most out of it. Below is a detailed walk-through for all the challenges I solved in the Linux skills category

Needle in a haystack -50pts #
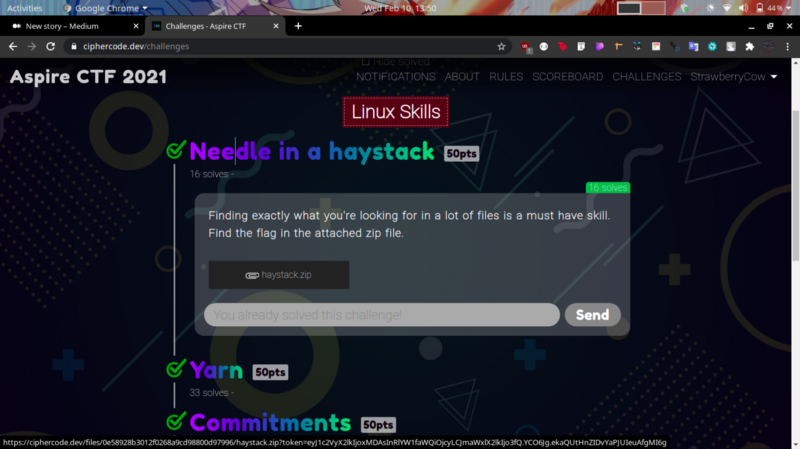
From the challenge description and title, we need to leverage on using commands to locate our flag. The zip file contains a number of different files

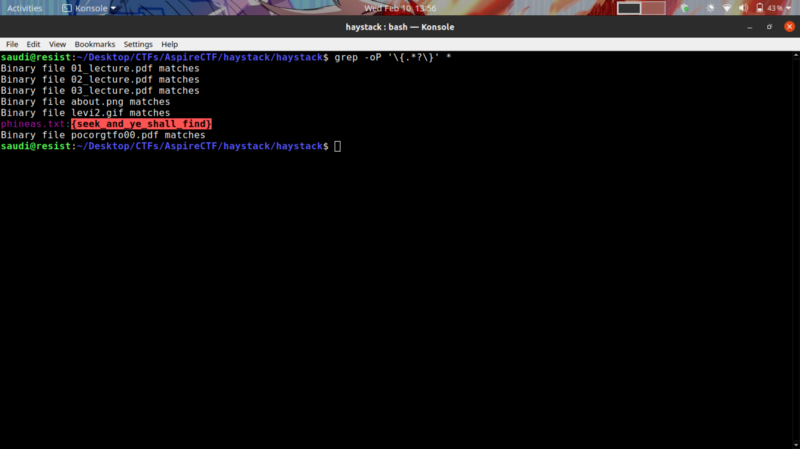
Well, the most efficient way to look for the flag in this case would be to perform a grep search using a regex pattern.
This particular article came in handy in constructing the regex pattern that gets us the flag.
How to grep text with brackets only
Yarn-50pts #
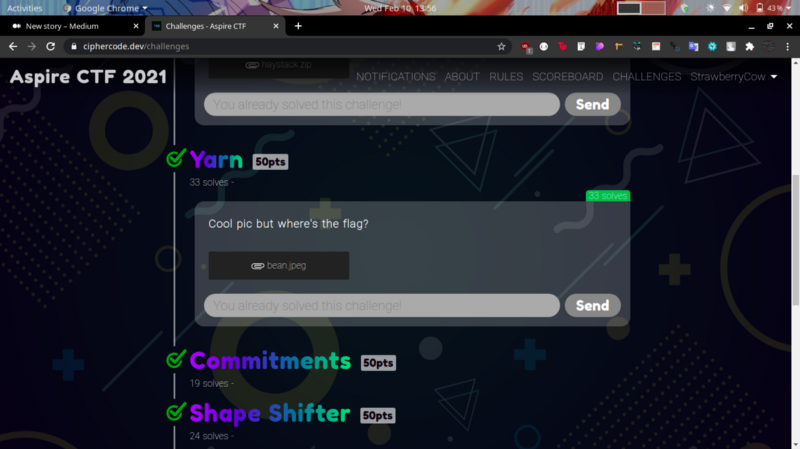
Our next challenge entails a bit of forensics CTF knowledge. First things first when given an image file is to analyze its metadata for any additional helpful information
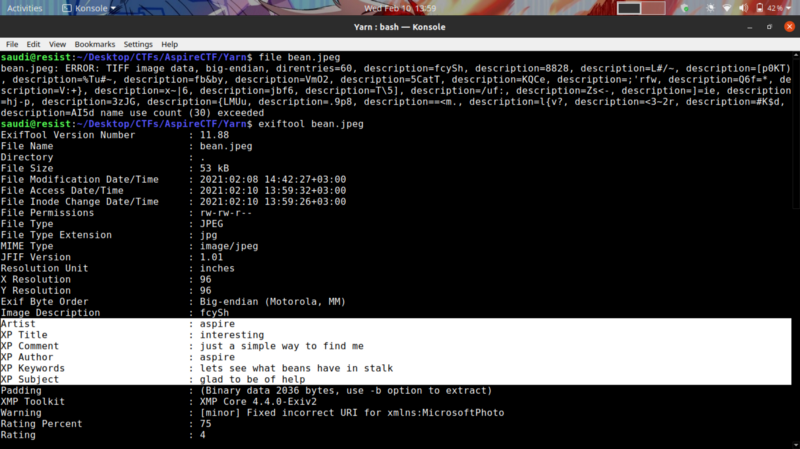
The markers I have highlighted didn’t yield that much information so I ran strings on the image to check for low hanging fruits. We get interesting information.
strings bean.jpeg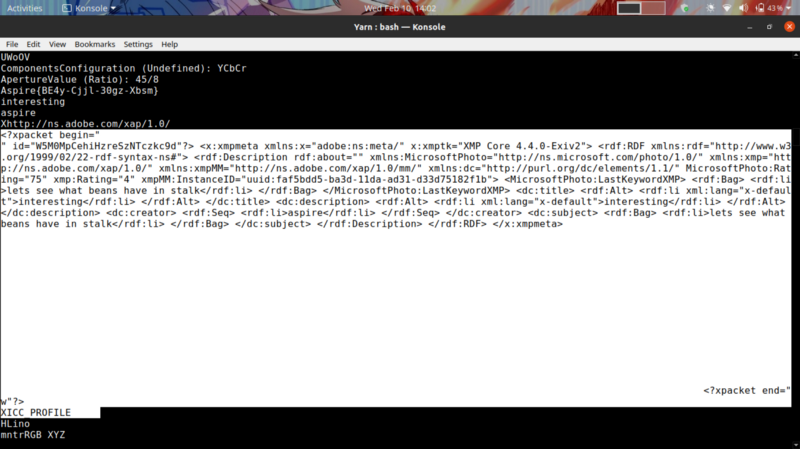
This segment of the strings output reveals we are working with XMP metadata, commonly used with Adobe and Photoshop apps. We can therefore proceed to extract the XMP data to obtain our flag.
dd bs=1 if=bean.jpeg skip=718 count=3827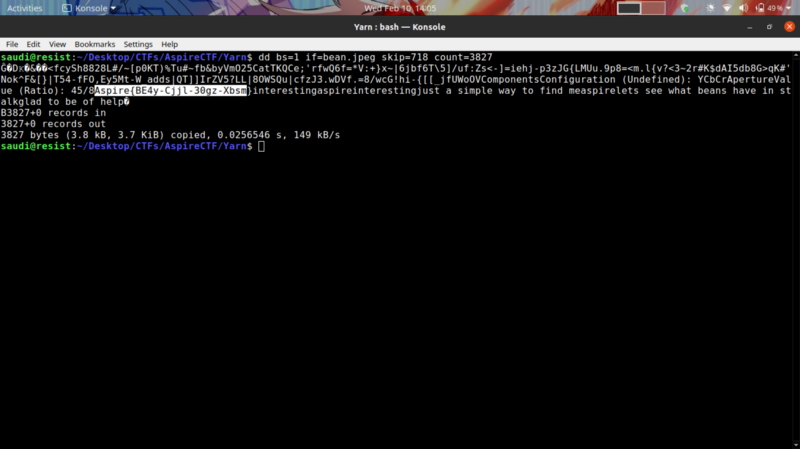
This article came in handy
Commitment-50pts #

We have an interesting challenge here testing our git skills. From the challenge name and description, this entails commit messages.
git log
Running git log allows us to view information about previous commits that have occurred in a project.
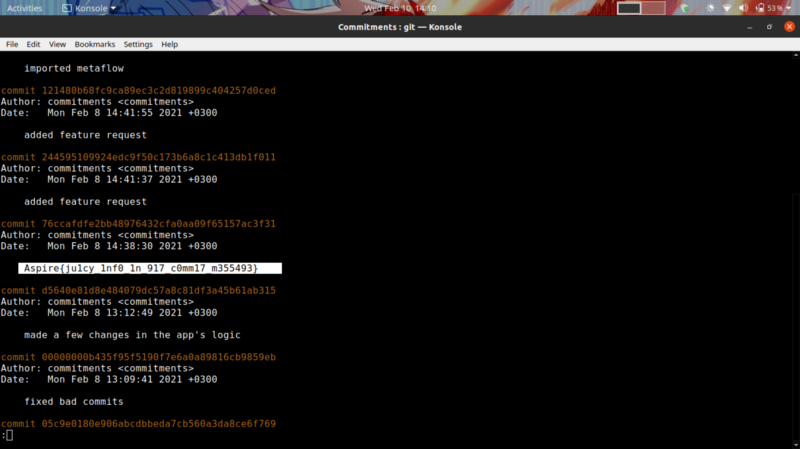
We get our flag :)
Shape shifter-50pts #
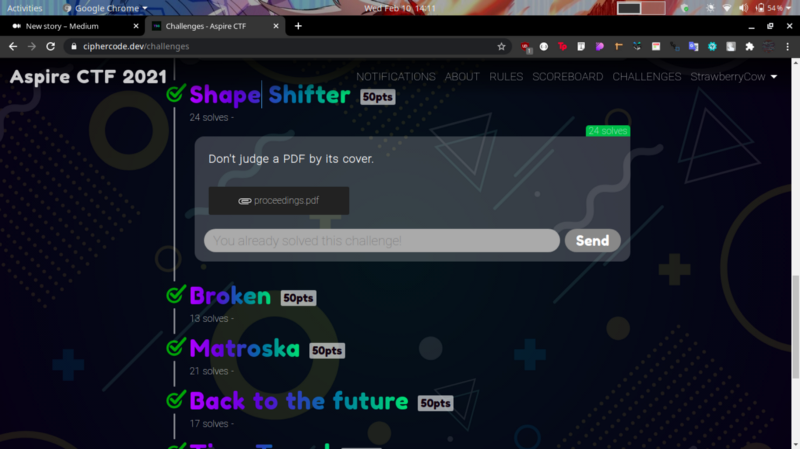
From the challenge description, we may have embedded information within the pdf. I thought of first running strings to get any low hanging fruits.
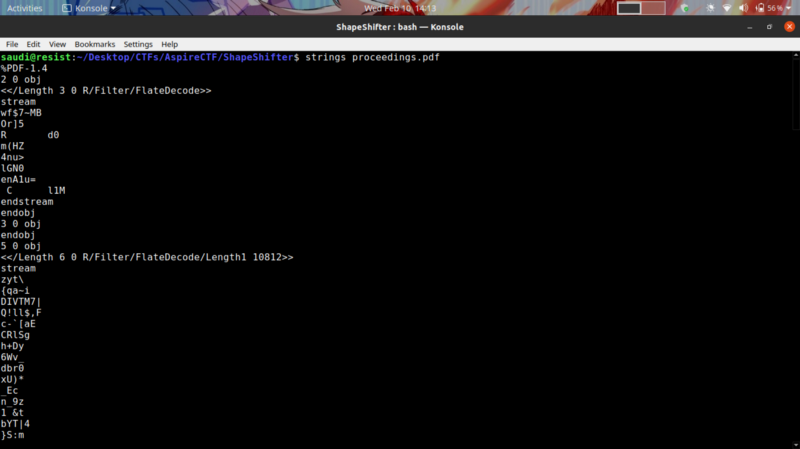
Didn’t get anything, so I extracted embedded data using binwalk a tool for searching for embedded data within files.
binwalk -Me proceedings.pdf #recursively extract files from the pdf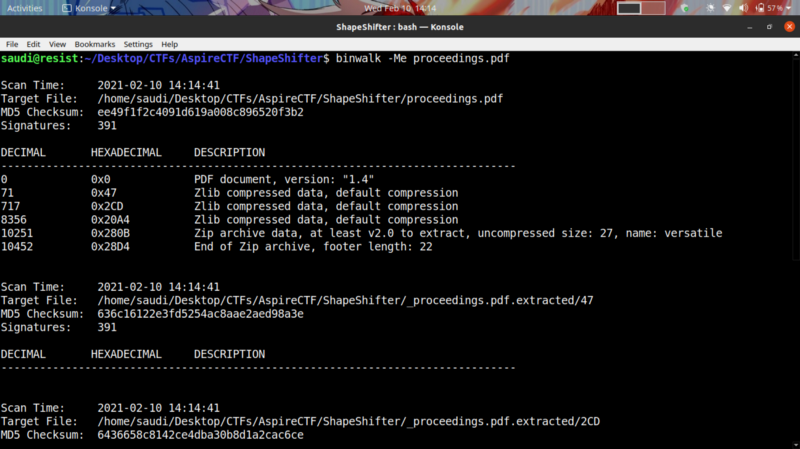
We get a number of files
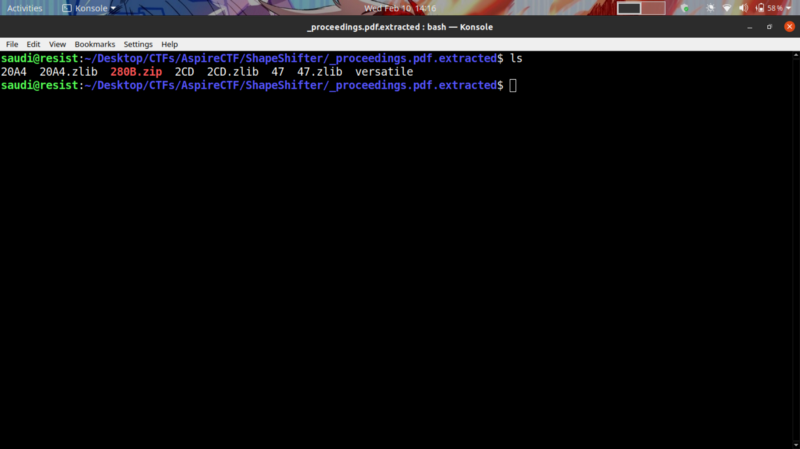
The versatile file seems interesting
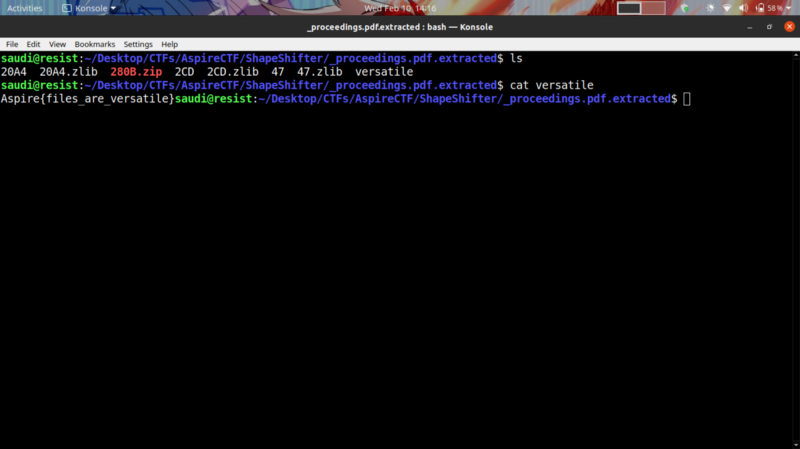
We get our flag :)
Make me whole again #

Some classic forensics file carving. Sweet :)
Unzip the broken.zip file and run file to get the details about the file types.
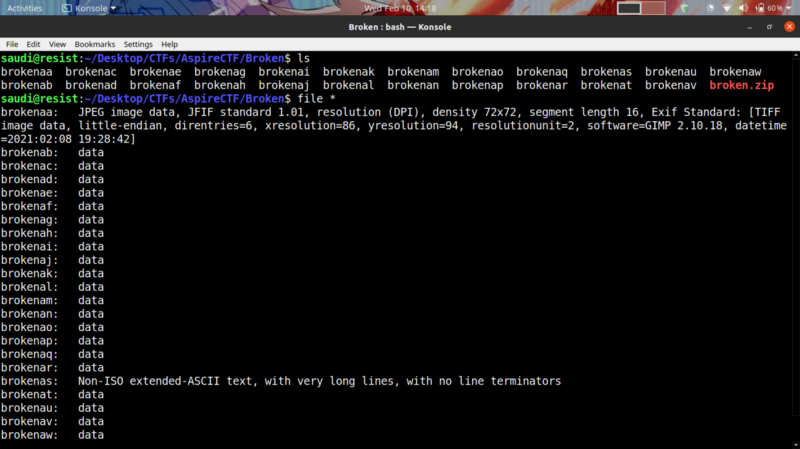
Interesting, the first file hints that we are working with a broken JPEG file. The appended letters of the files(a-v) also hints that if we joined the files in that order, we may get the original file
cat * > final #this command gives us the final appended data eog final #this command opens the jpeg file
Matroska-50pts #
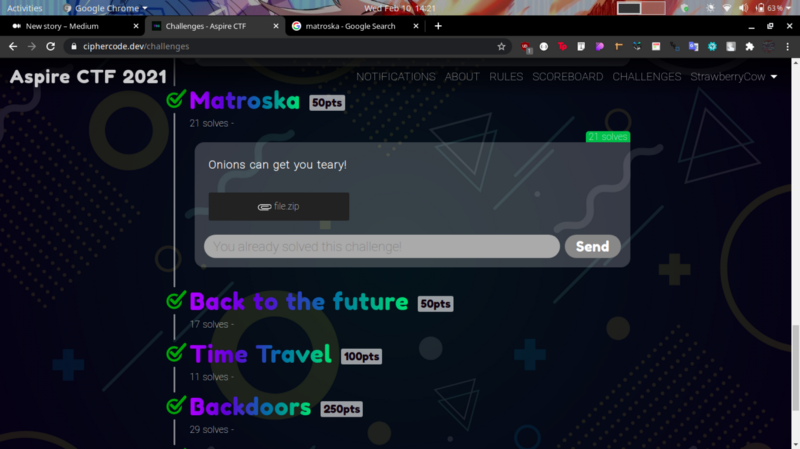
Matroska is derived from matryoshka , the Russian word for the hollow wooden dolls which open to expose another smaller doll, that in turn opens to expose another doll, and so on.
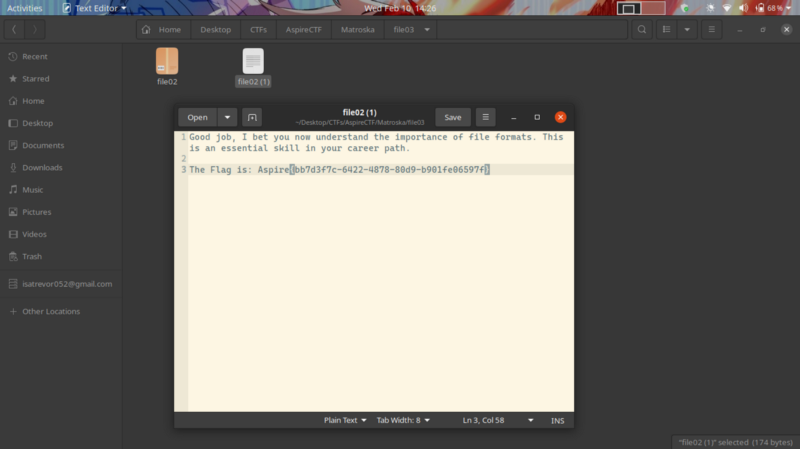
The file we get didn’t require automation to get the flag as the nesting wasn’t intense :D, simply extract the nested to extract your flag
Back to the future-50pts #
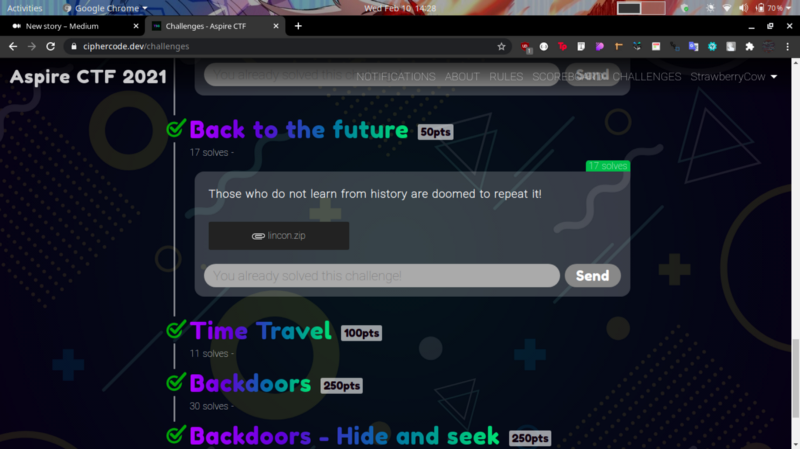
This particular challenge was rather interesting.
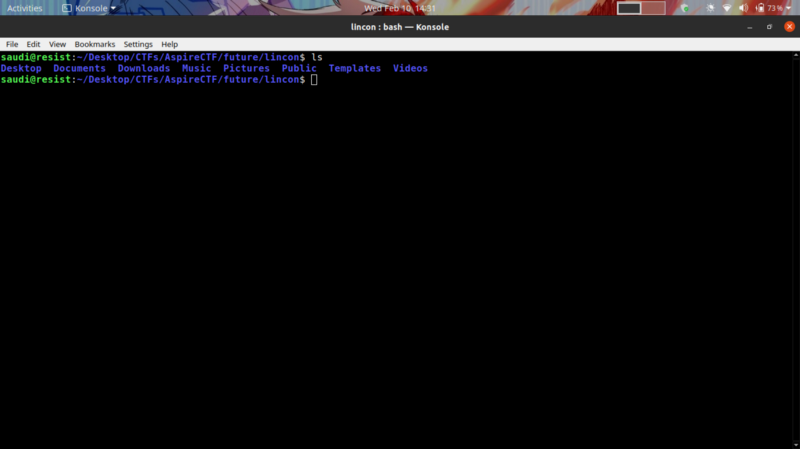
We get a file that looks like the normal linux home directory structure. Well, let’s get prying. Our challenge description hints that our focus point should be at the bash_history.
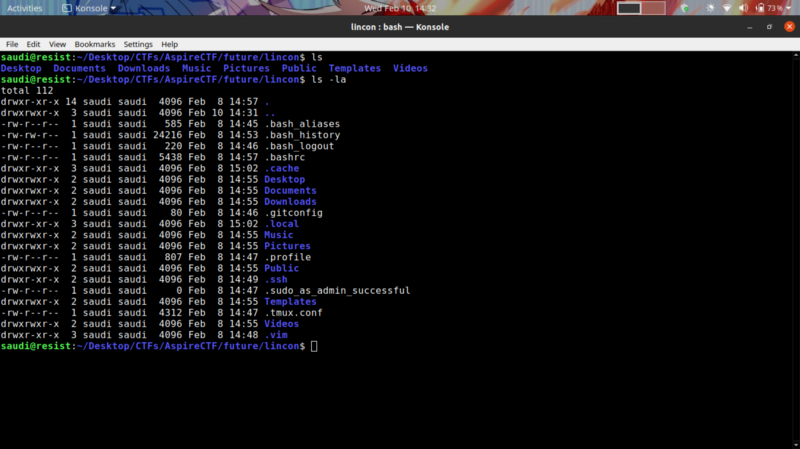
So I tried grepping for the string aspire then for the string flag
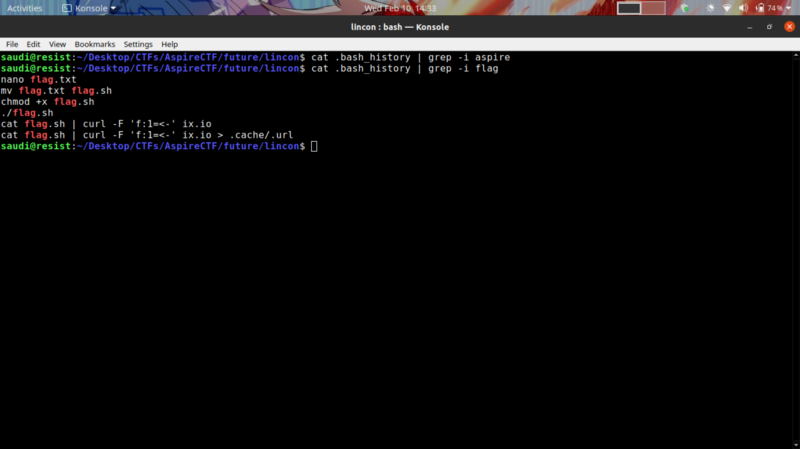
We get some interesting info. flag.txt gets created and converted to a script.
cat flag.sh | curl -F ‘f:1=<-’ ix.io This line sticks out. I tried accessing ix.io to understand what this line meant.
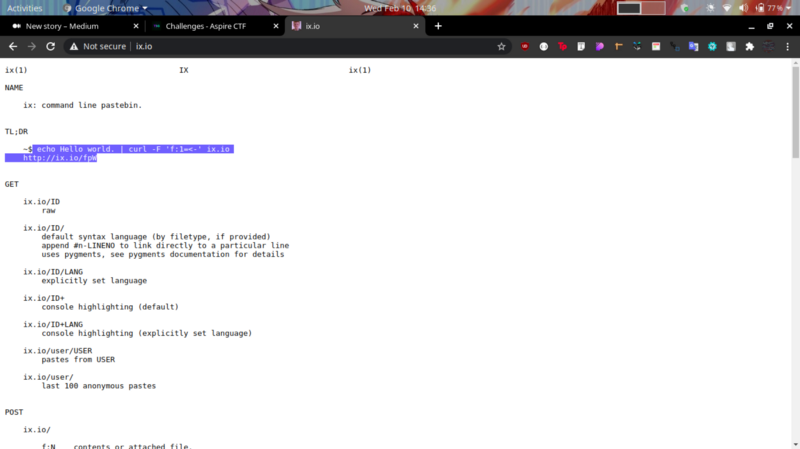
Nice, a command line pastebin. Where users can store texts , in this case, commands. Running the highlighted command generates a link which contains the output of the command
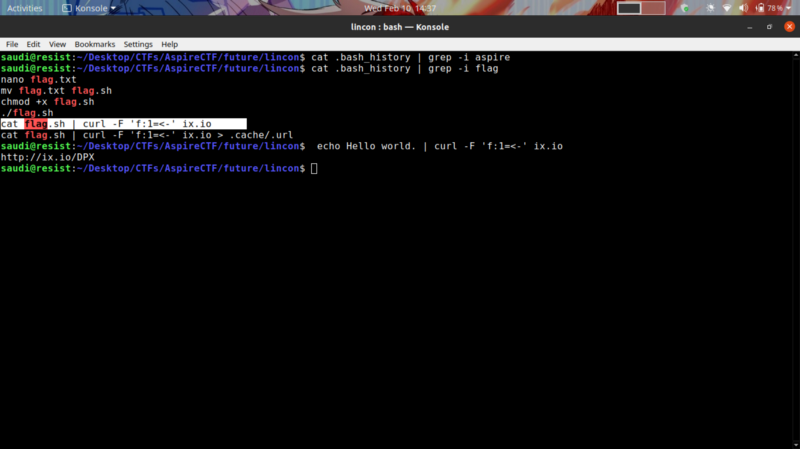

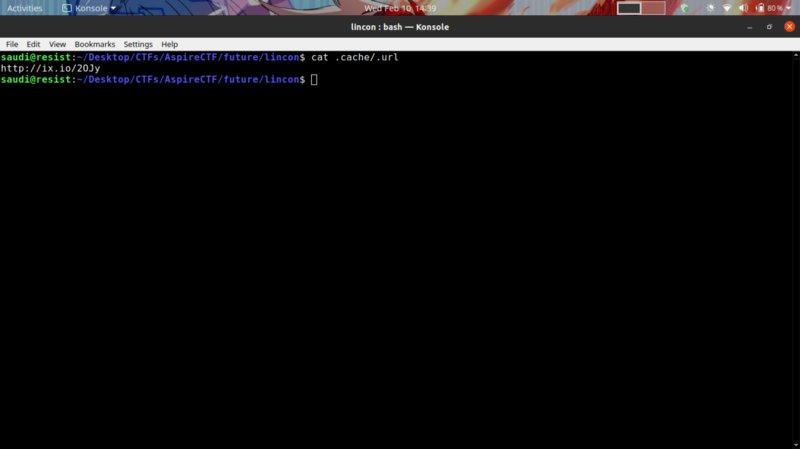
This means that the last command cat flag.sh | curl -F ‘f:1=<-’ ix.io > .cache/.url will redirect the generated link to .cache/.url
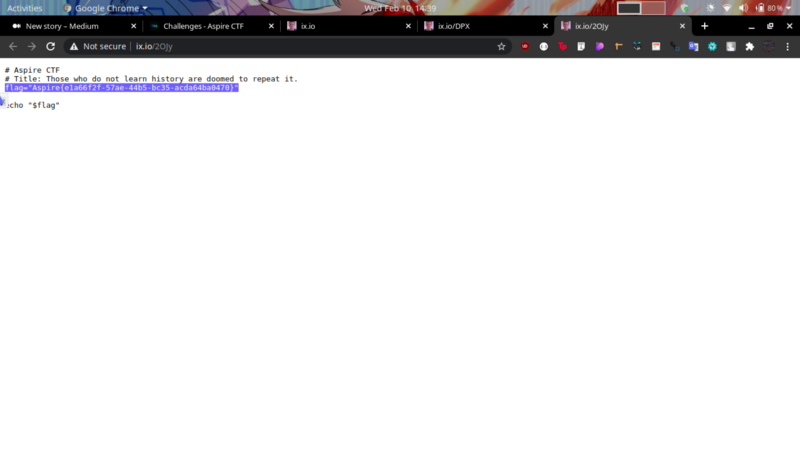
All we need to do is access the link and get the flag
Time travel-100pts #

Hmm, time travel ?
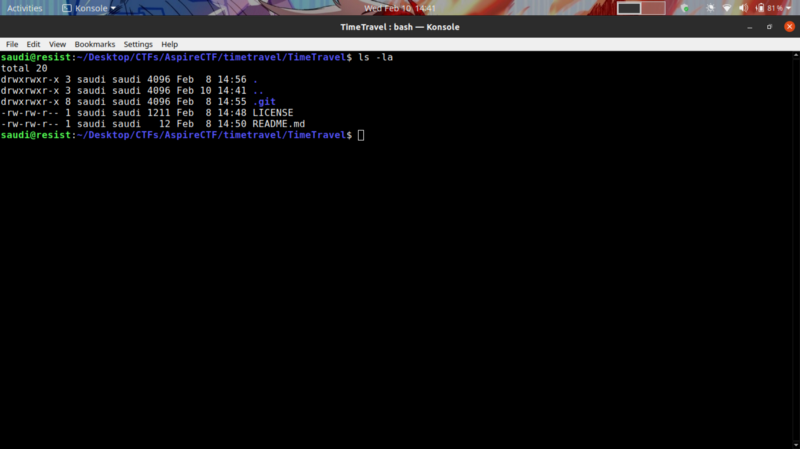
Another git challenge, sweet :D
git status git log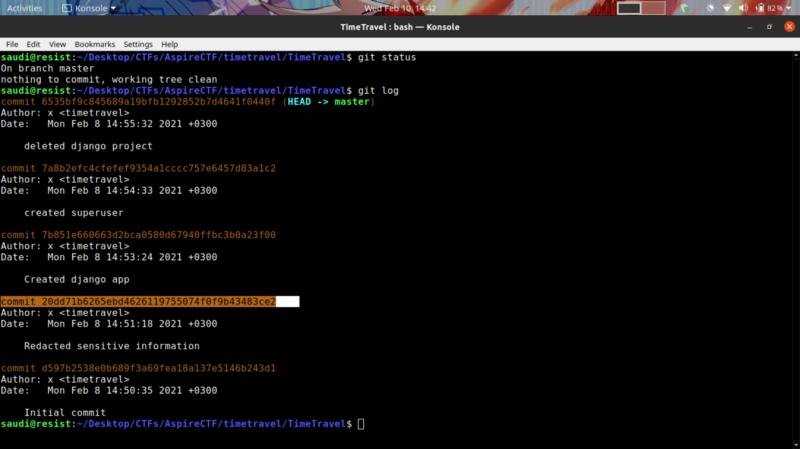
The highlighted commit hash message stuck out. The redacted info could be our flag. We can use git checkout to check that commit out, then git log -p to inspect what was modified, the location of the changes and the changes that were made.
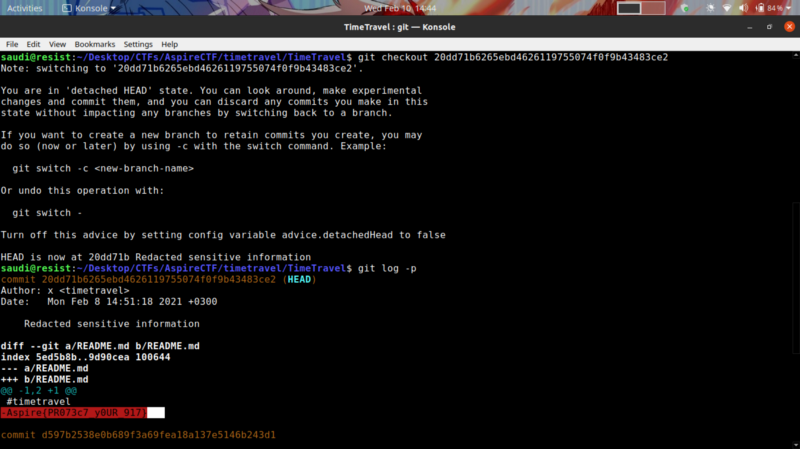
We get our flag :)
Backdoors-250pts #
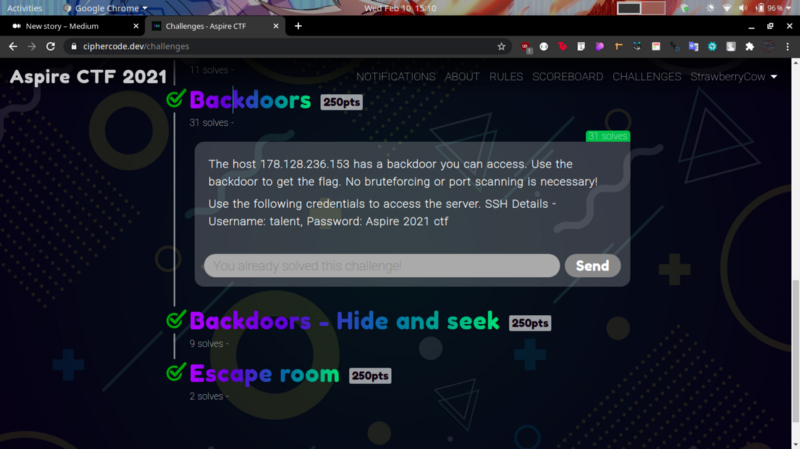
This was a rather simple challenge for 250pts :)
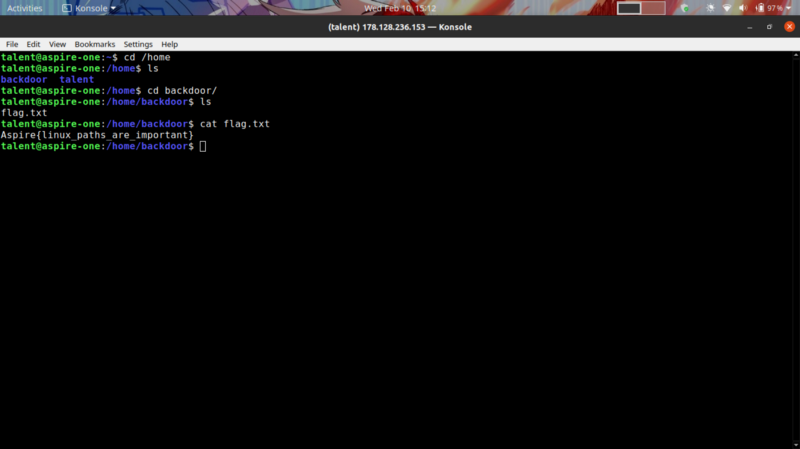
The flag was located in the /home/backdoor/ directory.
Backdoors-Hide and Seek-250pts #
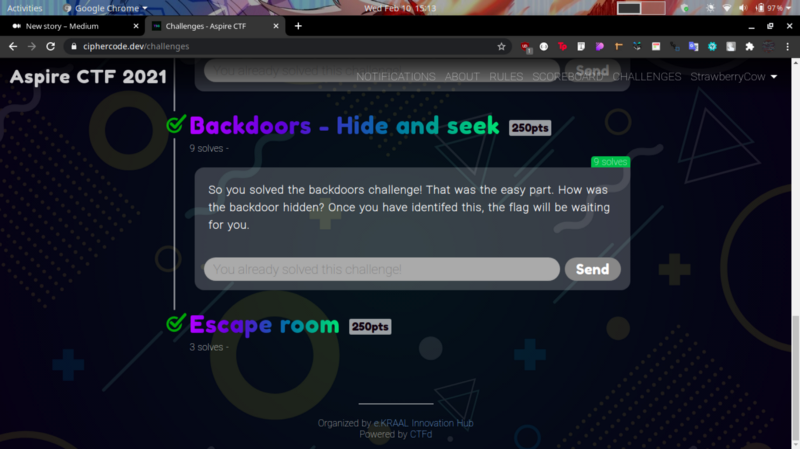
This challenge didn’t require any priv esc, At first I thought is was guessy but this was my thought process after getting some help from a friend. If I was to check for a backdoor in a system, I would try monitor for running processes using command like netstat ss lsof ps I tried typing out these command but didn’t get much.
But upon viewing the actual scripts …
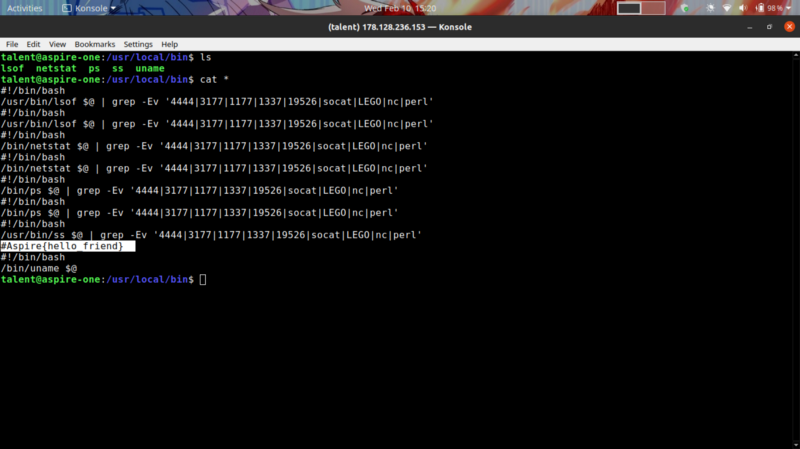
We get the flag :)
Escape Room — 250 pts #
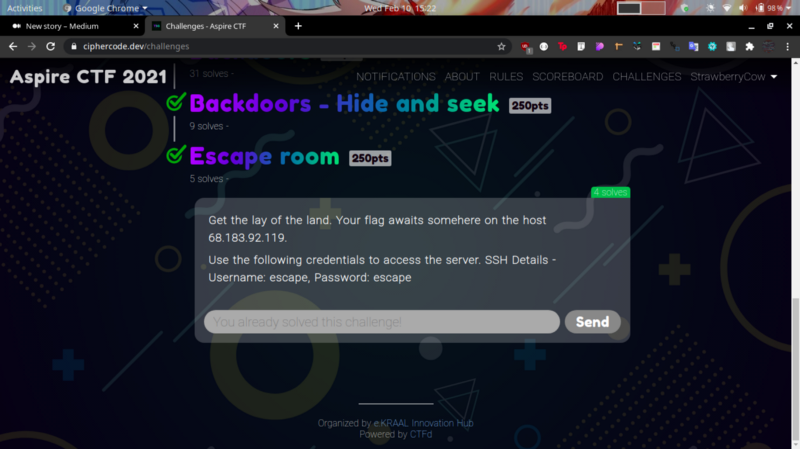
Well, given the ssh creds. Let’s try accessing the server
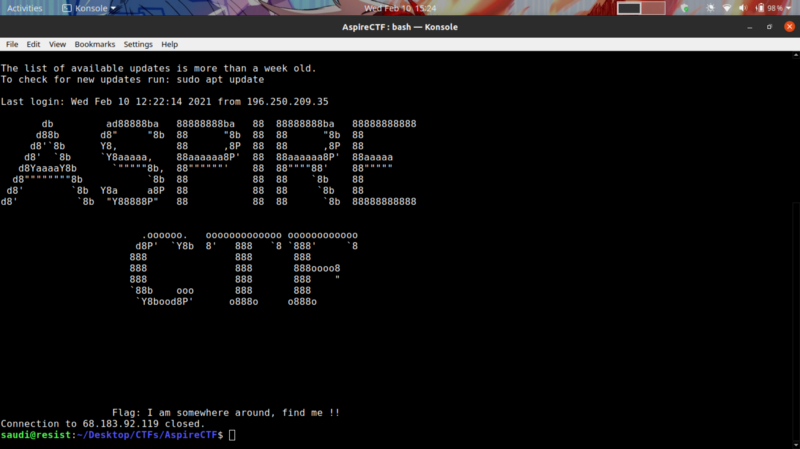
The ssh connection immediately closes upon connection. hmmm, an ssh jail?
My workaround for this challenge was to directly pass commands into the ssh session before the connection is shut down

Using the flag -t allows you to pass commands into the ssh connection . I also used sshpass, a utility that provides non-interactive password prompt. We can now output our flag
sshpass -p escape ssh -t [email protected] 'cat flag.txt'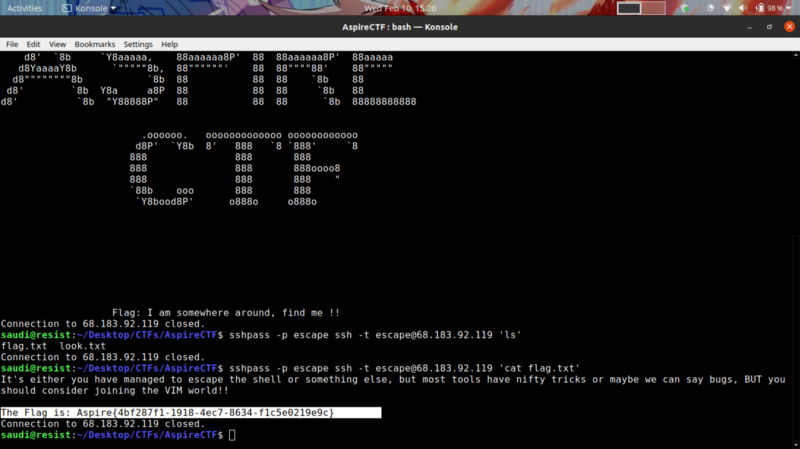
We get the flag :)
That’s it for linux skills### Networking
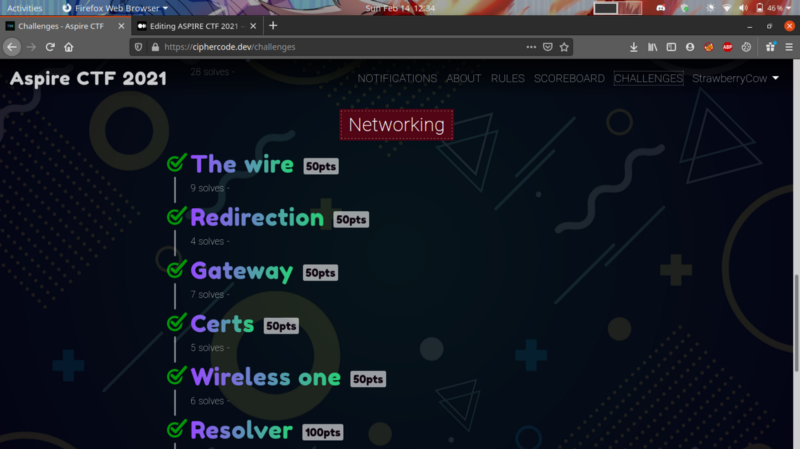
The networking bit was equally as fun and beginner friendly, here are all solves for the challenges.
The wire-50pts #
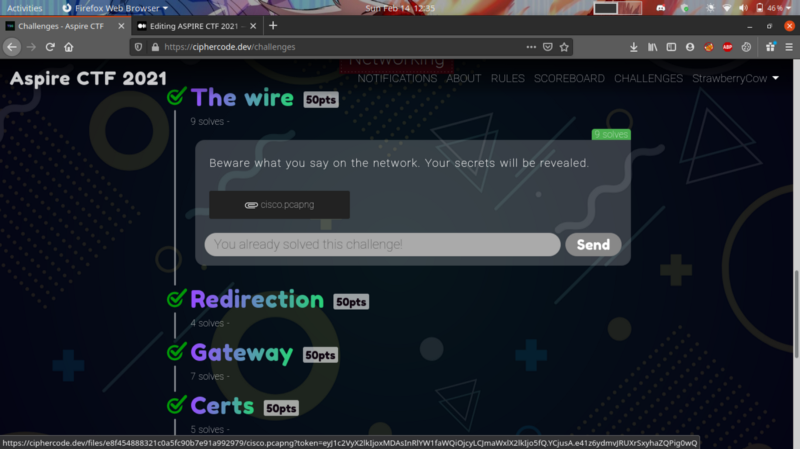
From the challenge description it was likely the flag was captured in the network. Ran strings to output it
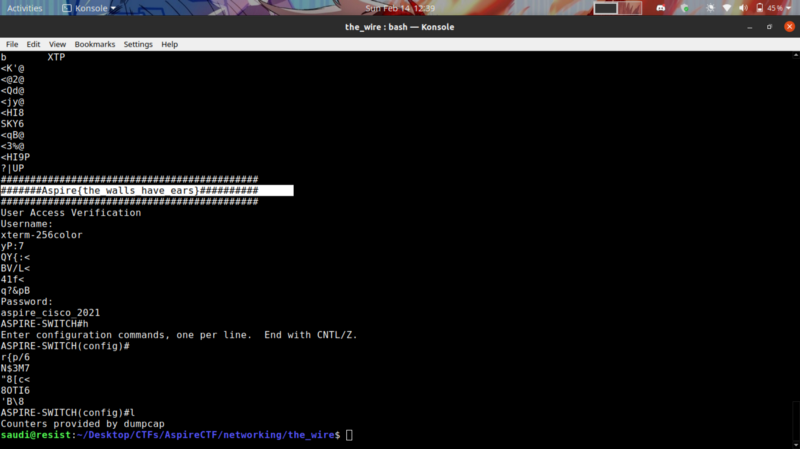
strings cisco.pcapng
We get the flag at the bottom
Redirection-50pts #
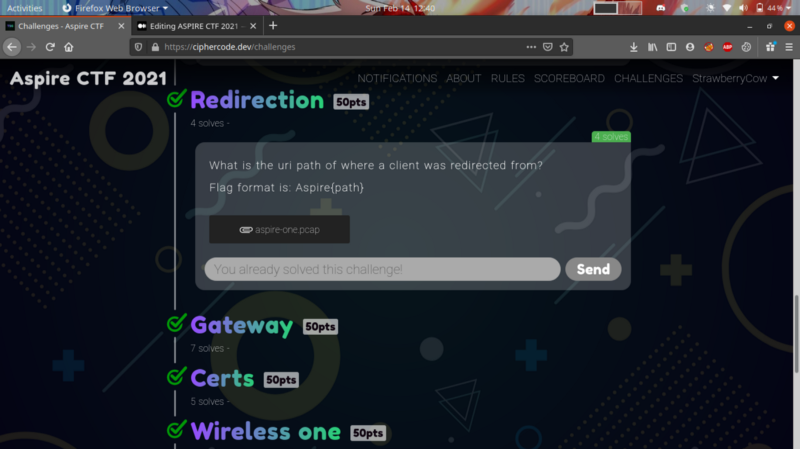
The challenge involves HTTP redirection
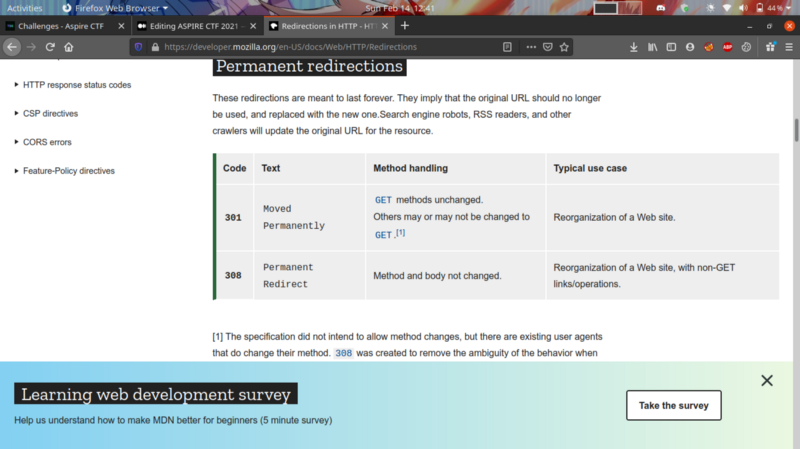
From the above article, I followed that to identify redirection you check for 301 and 302 status codes in the packet capture
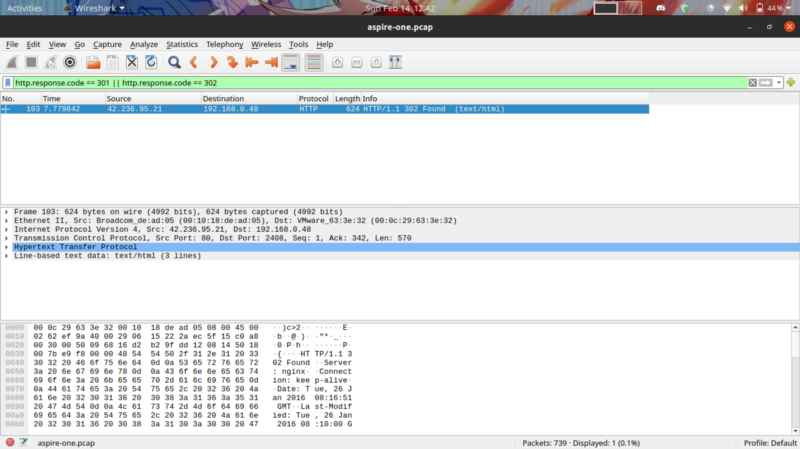
We get a packet, moving on to analyzing it
Right click on the packet > Follow > TCP stream
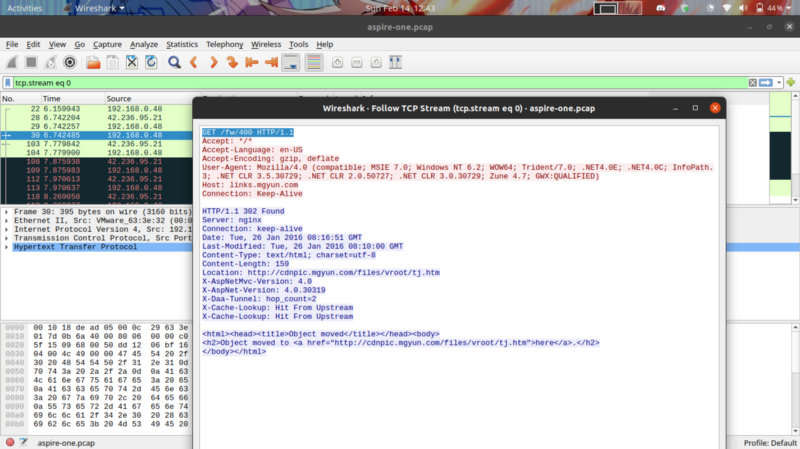
The highlighted text contains the URI path that the client was redirected from
Gateway-50pts #
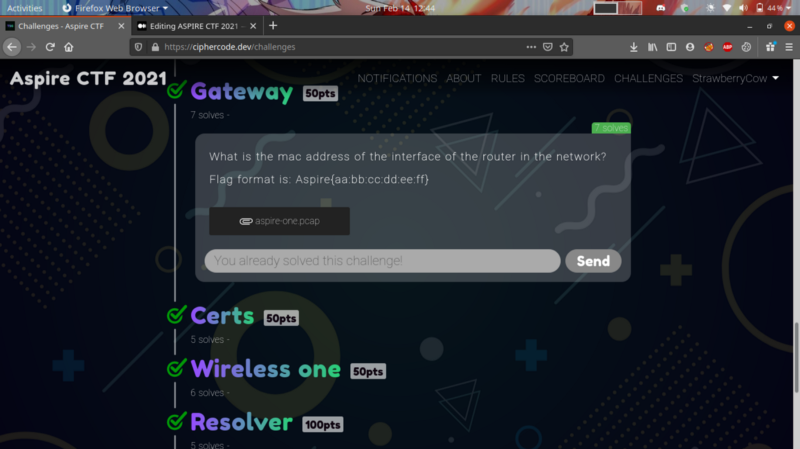
The quickest way to identify the router was check for ARP requests. Usually for remote hosts to make a connection to the network, an ARP to the default gateway is made that triggers a series of ARPs from that gateway or router throughout the network. This can help us trace the router
Filter for arp packets and we get the devices sending ARP requests
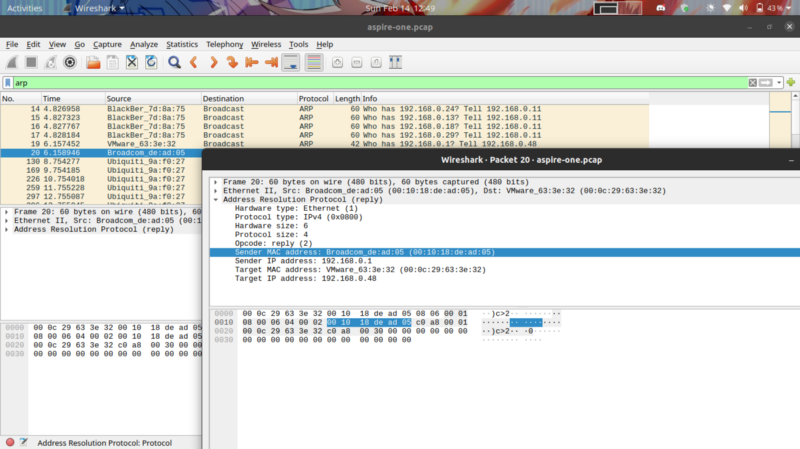
The highlighted one is our router, it’s MAC is provided.
Certs-50pts #
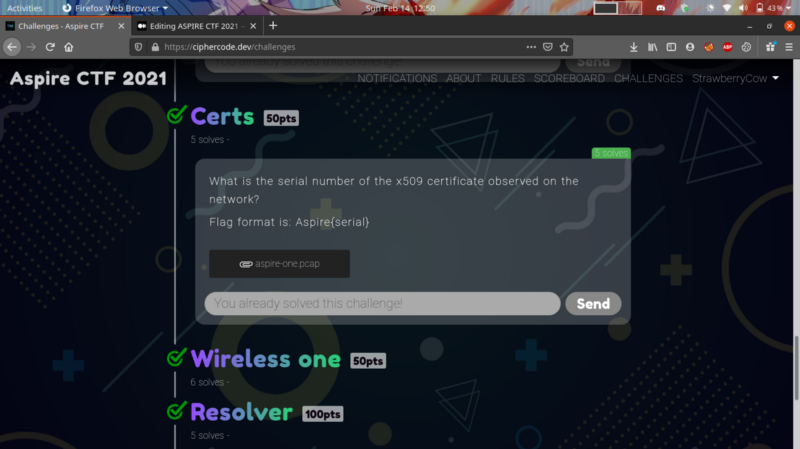
x509 is a standard defining the format for public certificates, commonly used in TSL/SSL.
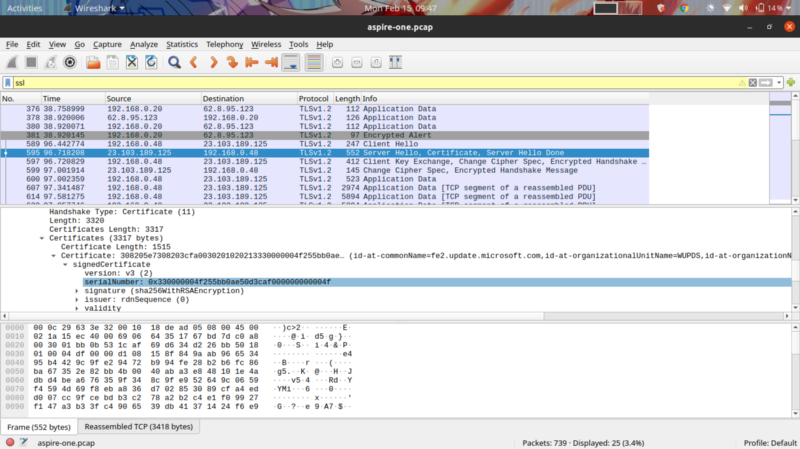
To get the x509 certificate we need to filter for ssl and observe the packet which is has certificate in the description. Expanding this in the description gives the serial number.
Wireless One-50pts #
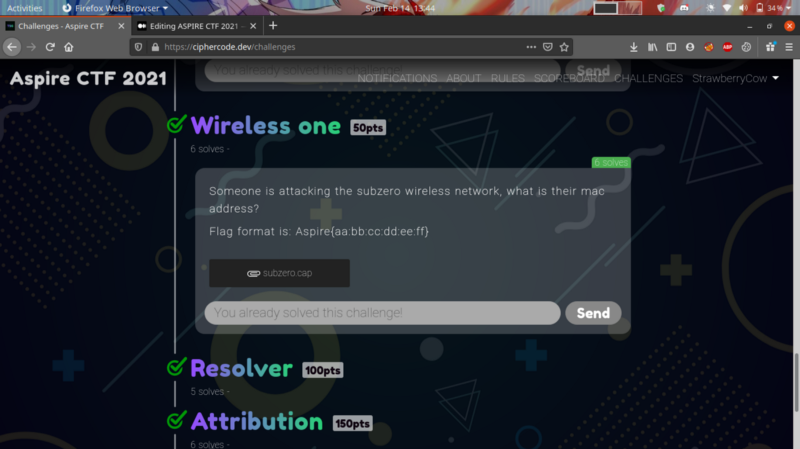
To identify the attacker’s IP, we must first take into consideration what type of attack is being carried out.
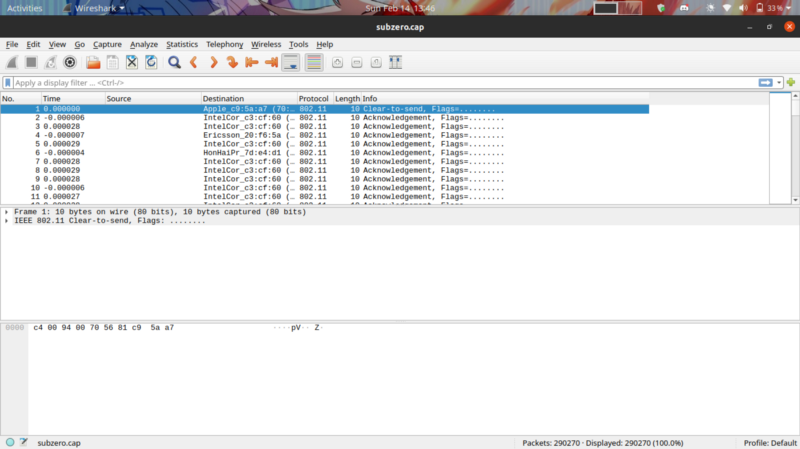
If you observer the protocol of the communication, you can see 802.11, a protocol used to implement wireless LAN. In the context of wi-fi based attacks I thought of MITM where the attacker could intercept packets.
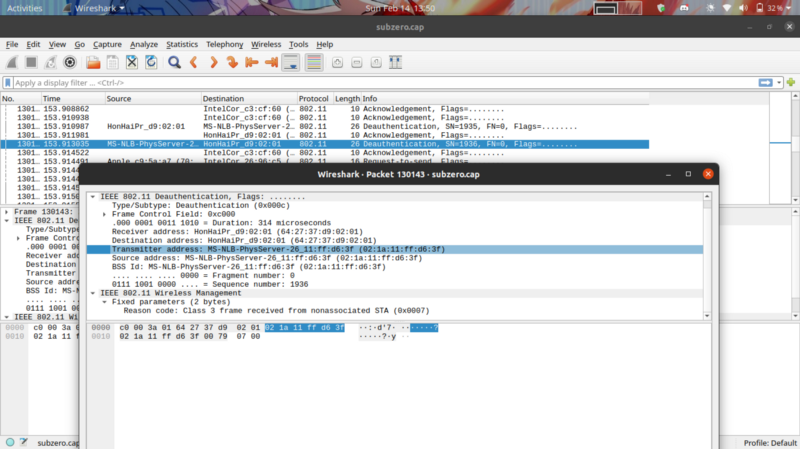
Further extrapolating this thought process, we arrive at a deauthentication attack. The attacker here, attempts to deauthenticate users in the network and capture their tcp 4-way handshake once they try to reauthenticate.
In our packet capture, identify the deauthentication packet, the source is the attacker
Wireless Two-150pts #
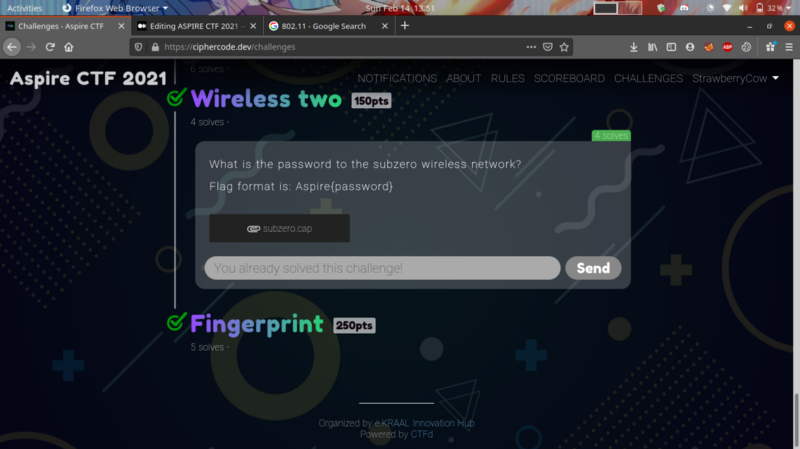
To get the password to the network, all we need to do is to crack the 4-way handshake packet capture. We can use air-crack ng for this
aircrack-ng subzero.cap -w /opt/rockyout.txt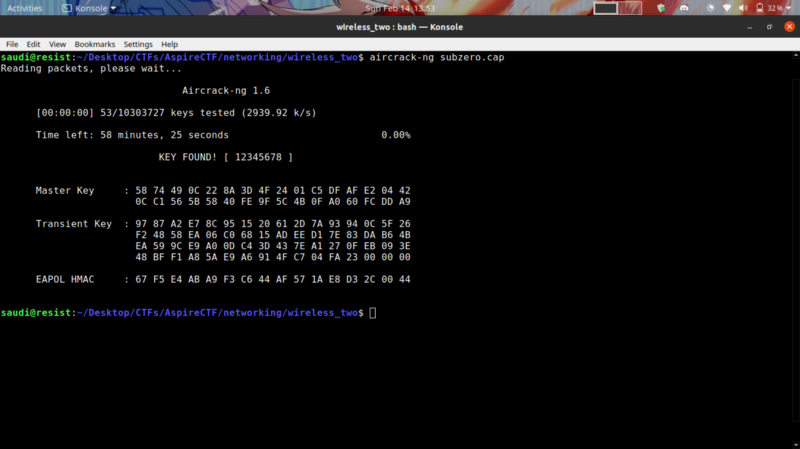
We get the key !
Resolver-50pts #
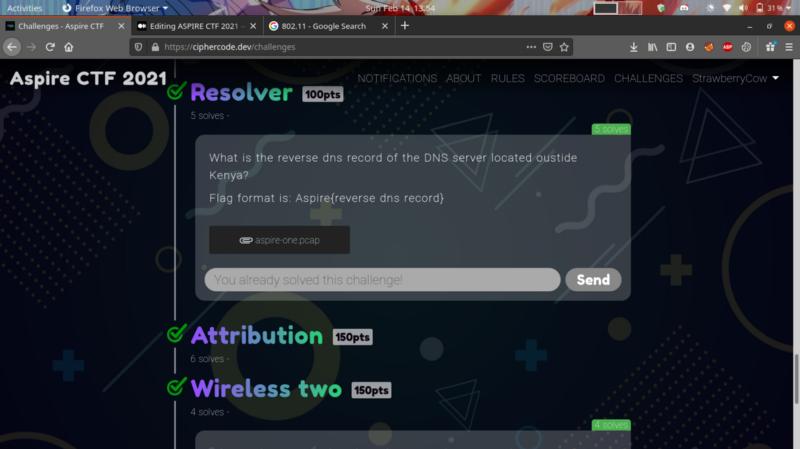
In a forward DNS lookup, the DNS is queried for the IP address of a certain hostname. In a reverse DNS lookup It’s where the hostname of a certain IP address is queried. Basically, a reverse DNS lookup returns the hostname of an IP address.
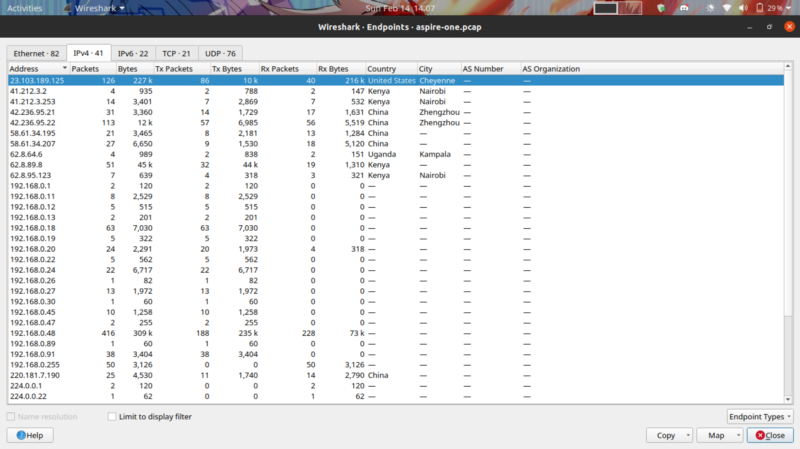
From the challenge description, we can narrow down our search by investigating IPs outside Kenya. Wireshark has plugins that allow you to check the location of an IP
To inspect the locations of the IP in the packet capture go to
statistics > endpoints

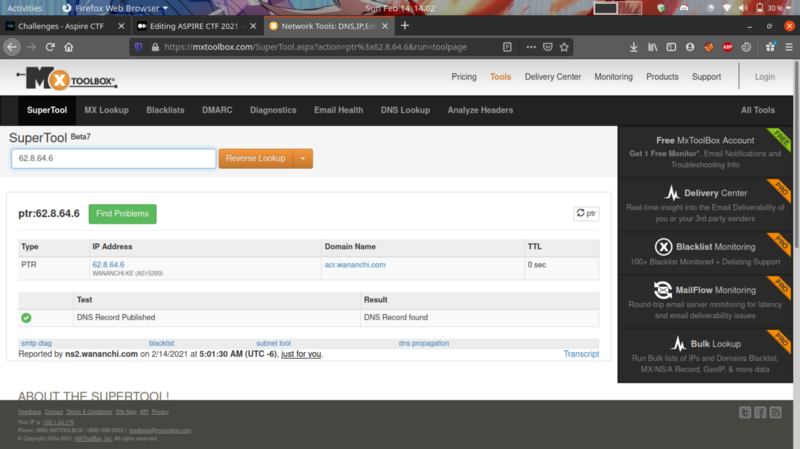
The IP 62.8.64.6 contains our reverse DNS records
Using this site, I queried the IP and got the results
Attribution-150pts #
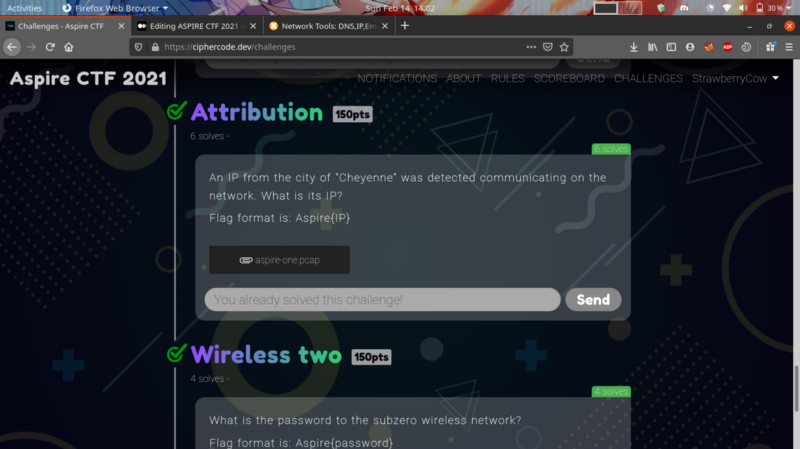
In this particular challenge, we need to check the location of the IP. This particular article comes in handy in using the GeoIP database
Go to statistics > endpoints , the first entry contains our answer
Fingerprint-250pts #
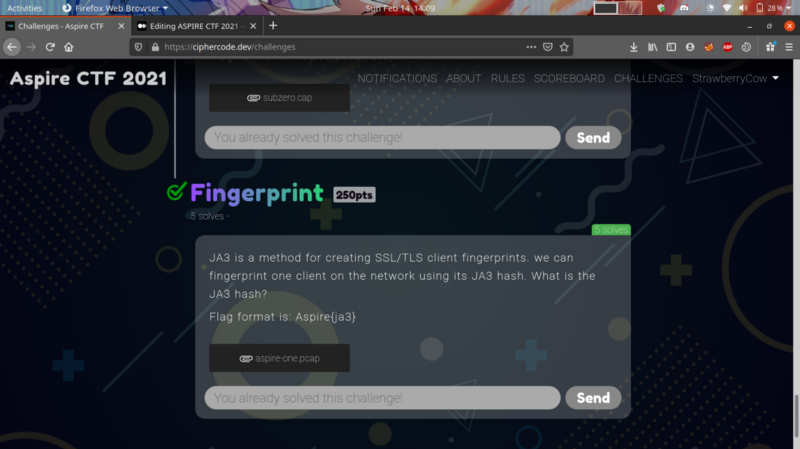
In TLS, the way the encryption is implemented can be fingerprinted. This fingerprint can be added to list of factors used to determine if you are who you say you are. JA3 is a method for creating this fingerprints
To solve this challenge we need to install the following plugin
Copy the ja3.lua file to your wireshark/plugins.
You may need to create this folder incase it does not exist. In linux , I created the folder in this path
/home/<username>/.config/wireshark/plugins
Naturally, it only makes sense to establish the TSL at the start of the communication. You can see this in the packet called Client Hello which is the start of TSL handshake

You get the ja3 fingerprint hash
That concludes the entire writeup for Aspire CTF. Hope you learnt something :)
Like, share and follow for more ! Happy hacking :)